A few months ago I joined the drop for the Massdrop x RAMA M10-A Mechanical Mini Pad - a programmable 10-key mini-pad designed by a collaboration between industrial design studio RAMA WORKS and UK-based manufacturer Machine Industries.
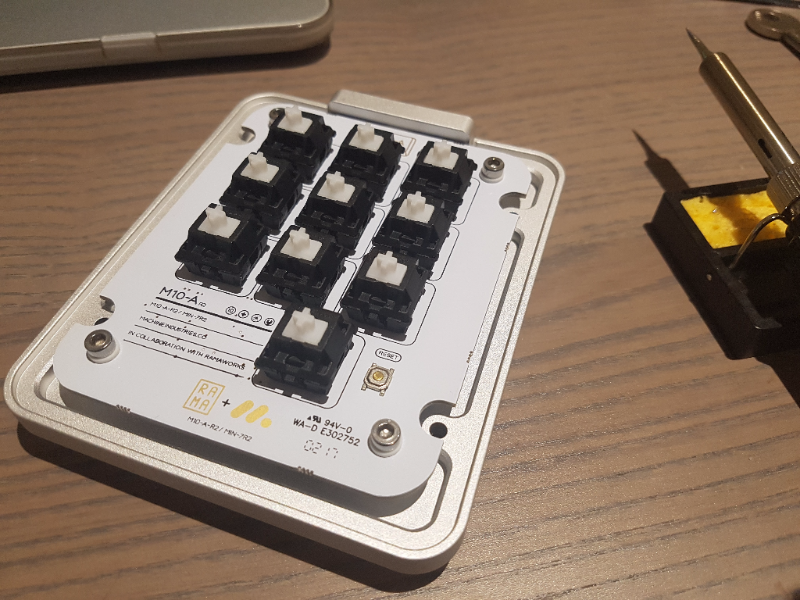
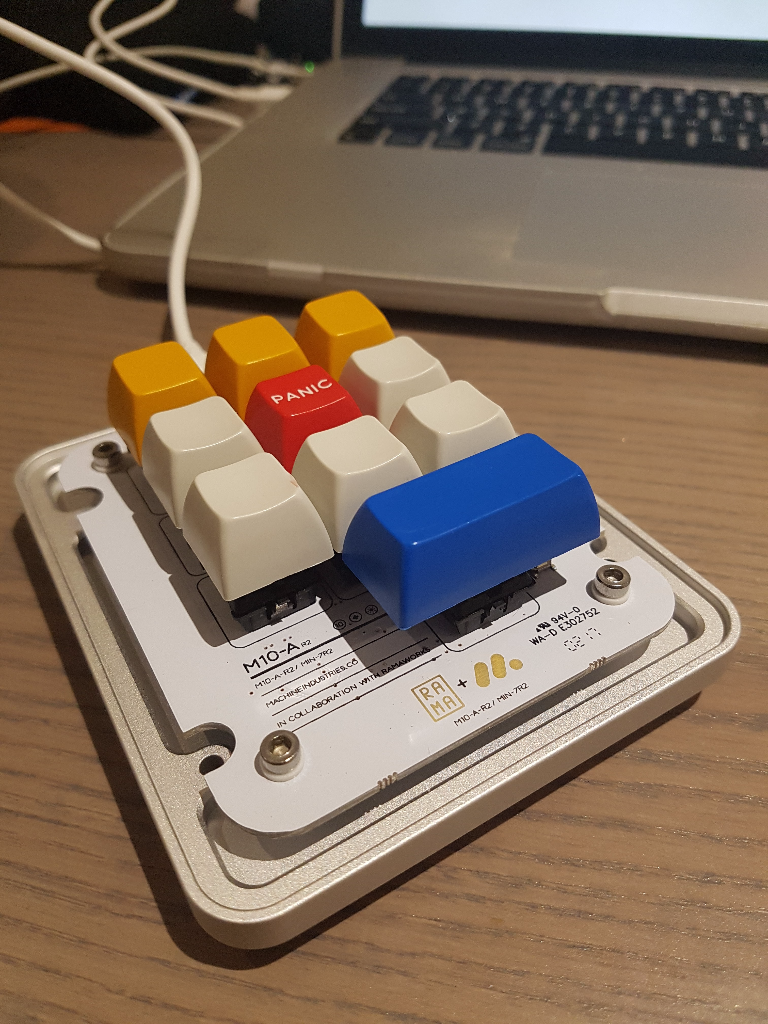
The keypad is CNC-ed from aircraft-grade aluminum and has a hefty weight. In short, it's absolutely beautiful. Included with the machined housing and reprogrammable 10-key PCB is a set of Cherry switches, keycaps and micro-USB cable. The keypad was available unassembled or assembled for a few bucks more. I went with unassembled.
Assembly of the M10-A
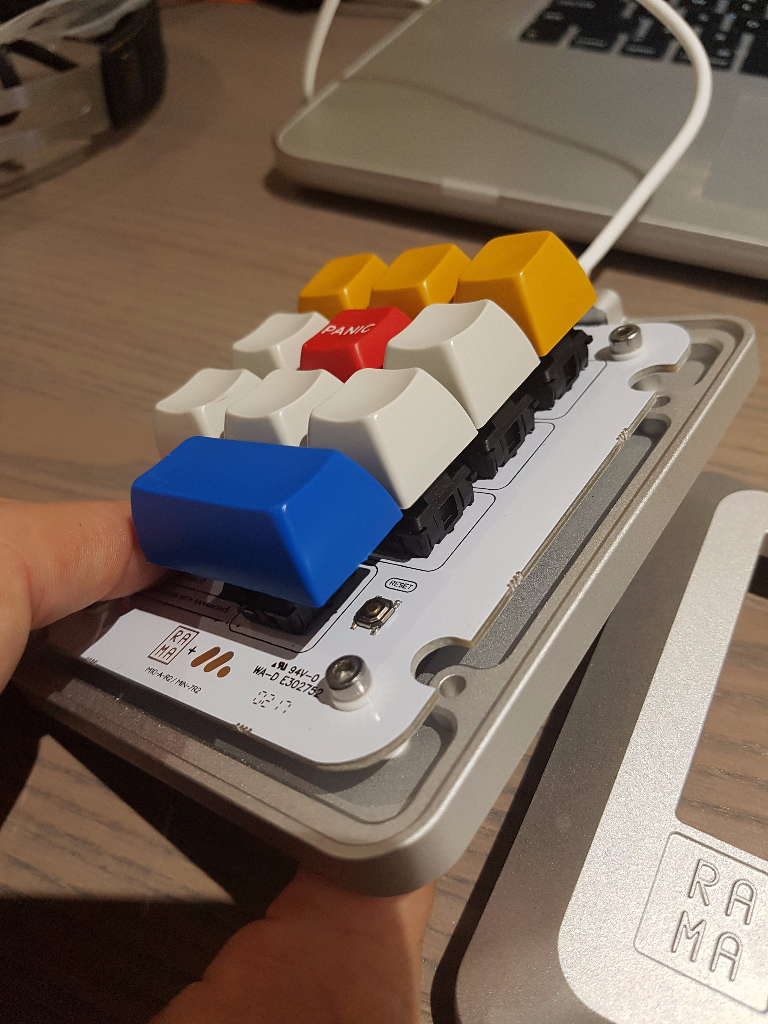
The physical assembly of the keypad wasn't too bad. To start I watched a few videos as a refresher on soldering. Then soldered in the Cherry MX Clear switches, popped on the keycaps, and screwed on the top-plate. Protip: don't screw on the top-plate until you've programmed the keypad.
Next up was programming the keypad, which brings me to the main focus of this article. Unfortunately it's not as simple as plug-n-play.
First, make sure the top-plate of your keypad is removed, because you'll need access to the reset button located under the bottom-right key.
Then, download the the Configurator app from Machine Industries - an GUI for programming the keypad.
Connecting the keypad to my Mac resulted in a MacOS dialogue pop-up which tried to identify the keypad. Of course this failed.
After reading some posts on Reddit and Massdrop I came across some comments about installing libusb. If you use brew this can be down with brew install libusb-compat. Otherwise:
- Download a copy of the
libusblibrary to your /Downloads directory - Open a terminal
cd ~/Downloadscp libusb-X.X.X.dylib /usr/local/libwhereX.X.Xis the version number of the downloaded file
This didn't solve the issue of MacOS recognizing the keypad, so I selected the US keypad option.
Now open (or restart) the Configurator app. Choose the M10-A keypad from the dropdown in the top left. Then hit the reset button the keypad (under the bottom key). At this point you should see the status of the keypad (shown in the Configurator) change from 'disconnected' to 'connected'.
At this point you're ready to program the keypad. This will vary based on your usage so go crazy. I've added a few utility shortcuts to save me some time, like streamlining some frequently used npm commands. I imagine I'll update this soon.
I anticipate I'll change the keypad functions fairly frequently, which brings me to the final tip. When using the Configurator, be sure to save your configuration file. This file can be imported later so you don't have to go through the tedious process of reprogramming every key later. Also, in order to Upload the new settings to the keypad I've found I need to hit the reset button to reconnect the keypad after every new configuration Upload.
Down the road I'd like to order some LEDs to add backlighting, as well as doubleshot keycaps with icons to make the keys more identifiable.
Comments